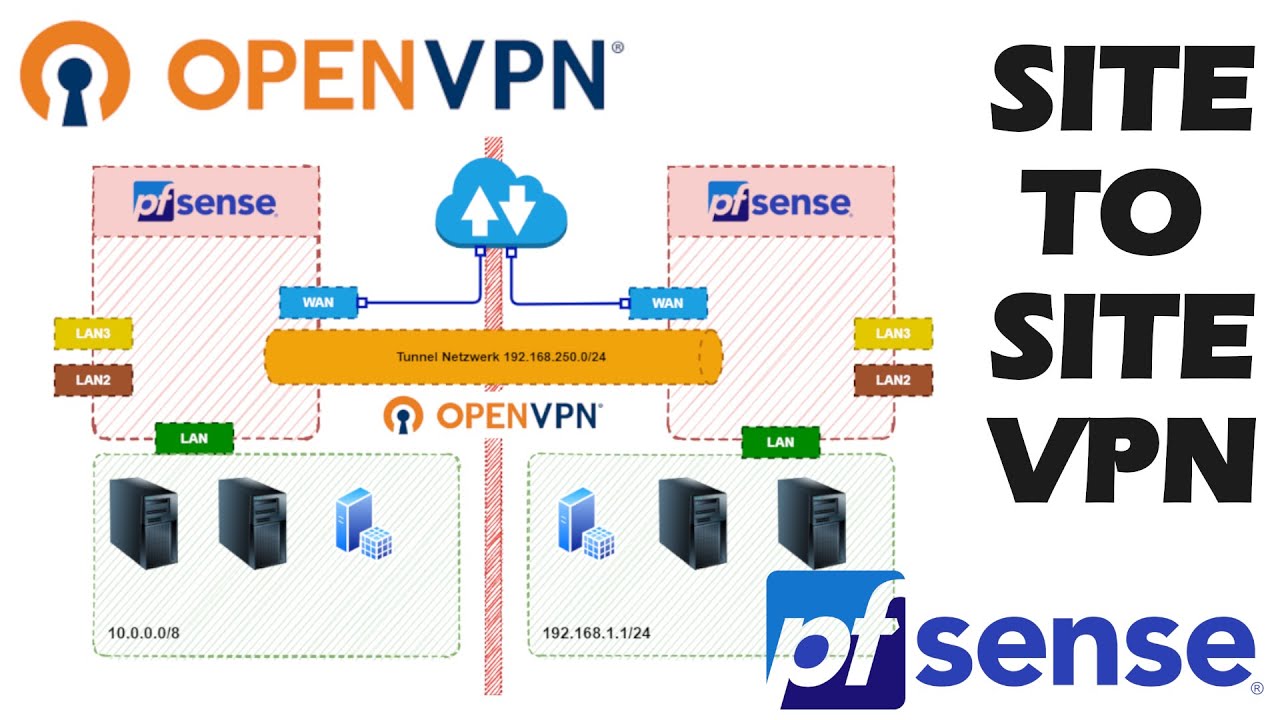
The document explains to setup the site-to-site vpn between on-prem pfsense with AWS. you have pfsense firewall in your on-prem and want to connect all of your aws servers in secure method.
Prerequisites for this setup:
- AWS site-to-site vpn setup
- Customer gateway
- Virtual Private gateway
- VPN connection
- Pfsense firewall
- Ipsec configuration
Create a Customer Gateway:
- Name(optional): Enter the name of the internet gateway relevant to your client name. If you have many customer, it can help you to identify – it is an optional
Ex:
- BGB ASN: If you don’t have a public ASN, you can use a private ASN in the range of 64,512–65,534. The default ASN is 65000
- IP Address: Enter the ip address of the customer gateway.
- Certificate ARN (optional): If you want to use certificate based authentication, provide the ARN of an ACM private certificate that will be used on your customer gateway device.

Sample Config of Customer Gateway:

Create a target gateway, We need a VPN connection between AWS and the on-prem network, for that we should have a target gateway in AWS.
- Enter a name for your virtual private gateway (optional).
- We can keep the AWS default ASN, or can choose Custom ASN and enter a value. For a 16-bit ASN, the value must be in the 64512 to 65534 range.

Sample config of Virtual Private Gateway

After creating Virtual Private Gateway , attach the VPC. Right click on Virutal Private Gateway and Attach to VPC, Choose your VPC, Create VPN Connection
A Site-to-Site VPN connection offers two VPN tunnels between a virtual private gateway on the AWS side, and a customer gateway on the pfsense end.

- Name: enter a name for your Site-to-Site VPN connection. Doing so creates a tag with a key of Name and the value that you specify
- Target gateway type: Choose the virtual gateway that you created earlier.
- Customer gateway type: select Existing, then choose the customer gateway that you created earlier from the drop-down list under Customer gateway ID.
- Routing options: Choose Static , Local IPv4 network CIDR – optional , Remote IPv4 network CIDR – optional will be default – 0.0.0.0/0
- Finally Click Create VPN Connection.
Pfsense configuration:
After creating the site-to-site VPN connection, select your VPN connection and download configuration:
For Vendor and Platform choose pfSense. For Software, choose pfsense 2.2.5+(GUI). Click on Download

Download the file and it has all the configuration details.
Pfsense Setup:
Login into the Pfsense , go to VPN → IPSec
Click on Add P1

As per the downloadable file, enter the informations and save it


Add Phase 2 entries


Check the status of IPSec

Firewall configuration in Pfsense:
- We need to create the firewall rule for Allow the VPC network in the pfsense to the local network
- Goto Firewal → Rules → IPSec
- Click Add
- Allow any traffic from IPSec network

Save the configurations.

Firewall rules in AWS:
- To allow the traffic from pfsense to your vpc.
- Go to AWS Console → VPC → Security Groups
- Select your security group and inbound edit , allow all traffic for pfsense network
Route table:
- Configure the routing the traffic between the VPC from pfsense
- On Routes propagation , edit route propagation and add the virtual private gateway
- Add the pfsense network on add the routes option
- Enter the pfsense network in Add destination
- Enter Virtual private gateway in Target
- Save the propagation.
Verify the setup:
- Ssh into any of your instance with private ip.
- Configure Gateway failover in Pfsense

